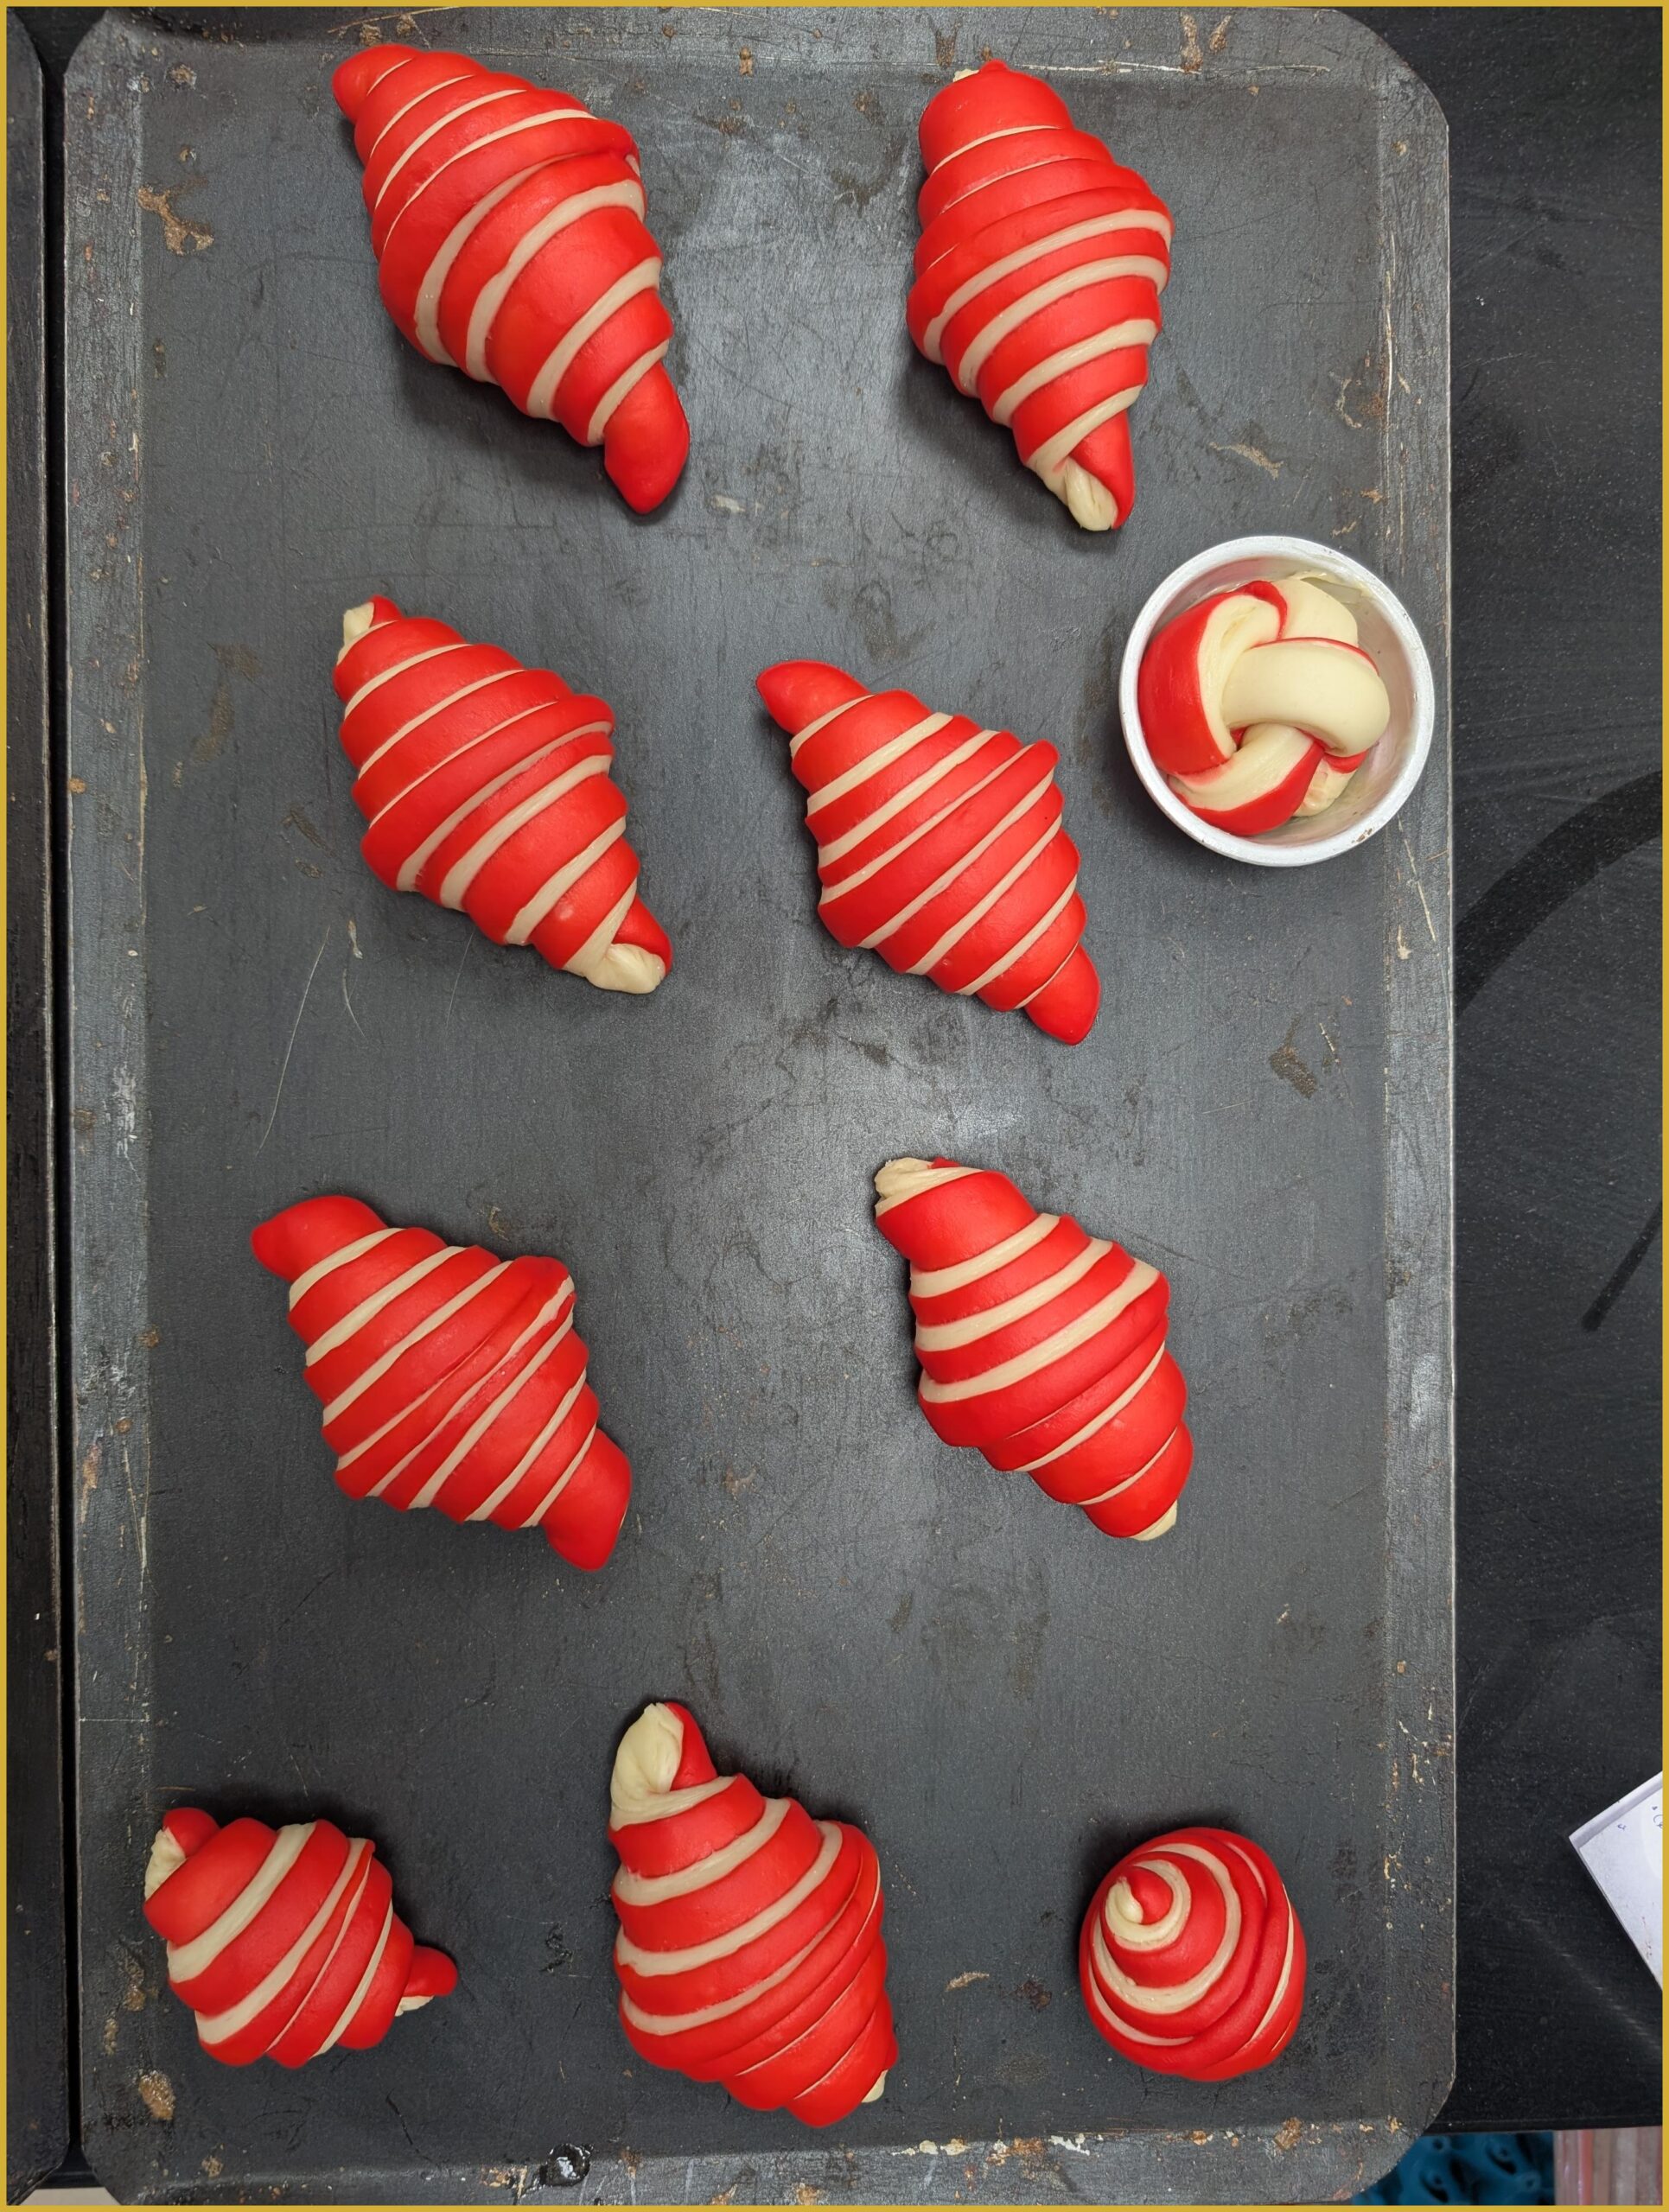
Nine perfect crescents. One rebel spiral. Every stripe hand-scored at a 45° angle before the final roll. This tray is 6 hours of lamination waiting for 18 minutes of oven magic.
The Architecture of a Croissant
Most people see a croissant and think breakfast. A pastry chef sees a croissant and thinks engineering. What sits on that baking tray is not simply dough shaped into crescents — it is a marvel of layered construction, a precise interplay between butter and dough that creates hundreds of distinct, flaky layers in the oven. To understand what makes a great croissant, you have to understand the science of lamination, the patience it demands, and why those 18 minutes in the oven are the payoff for an entire day’s work.
What Is Laminated Dough?
Laminated dough is the foundation of the entire Viennoiserie tradition — croissants, pain au chocolat, kouign-amann, and Danish pastries all begin here. The process involves creating alternating layers of enriched dough and a solid fat block (beurrage), typically a high-fat European-style butter, through a series of precise folds called turns.
A classic croissant uses three double folds, resulting in 2×2×2 = 8 layers of butter separated by dough. Multiply that out through the rolling and you arrive at 27 distinct layers of pure, cold butter suspended inside the dough matrix. Each layer is perfectly sealed. When the tray enters the oven, water in the butter converts to steam, forcing those layers apart, creating the iconic honeycomb crumb that pastry chefs obsess over.
The Six-Hour Journey
The timeline of a croissant begins the day before baking, or sometimes two days before. Here is what actually happens during those six hours of lamination work:
Day One: Détrempe
The enriched dough — flour, yeast, milk, sugar, salt, and a small amount of butter — is mixed to a smooth but not fully-developed gluten structure. Overdeveloped gluten tears when sheeted, ruining your layers. The dough is rested overnight in the refrigerator, allowing slow fermentation to develop flavor without producing too much gas.
Day Two: Enclosing the Butter Block
The butter block, beaten to a pliable but still cold 16–18°C, is enclosed inside the dough. Temperature control is everything here. Too warm and the butter smears into the dough. Too cold and it shatters, breaking the continuous layer. The entire lamination session — four to six hours when you count rest periods — is a battle against temperature.
The Turns
Each fold must be executed with confidence and speed. The sheeter (or a rolling pin, for the traditional baker) presses the dough out to a precise thickness. Then the fold happens — envelope-style, letter-fold, or book-fold depending on the recipe. Into the refrigerator for 30–45 minutes. Back out. Repeat. The pastry chef must read the dough: if it starts to resist or if you spot butter breaking through the surface, stop immediately and chill. Pushing through resistance destroys the work of every fold before it.
The 45° Score — A Signature Detail
Look closely at the tray in this image. Every crescent shows the same diagonal score across its surface, made at precisely 45° before rolling. This is not decoration for its own sake. The score line serves a structural purpose: it allows the outer surface to expand cleanly during baking without tearing or splitting irregularly. It is the pastry chef’s way of giving the dough permission to bloom in a controlled direction.
The one rebel spiral at the edge? That is a test piece — shaped differently to monitor oven behavior. Every experienced baker leaves a canary in the tray.
Why Butter Quality Is Non-Negotiable
In a laminated dough, the butter is not a minor ingredient. It is literally half the structure. The ideal beurrage is made from sheet butter (beurre de tourage) — a high-fat (84%+) product specifically designed to sheet without cracking. The fat crystals in sheet butter are smaller and more uniform, allowing the butter to flex without shattering under a sheeter at cold temperatures.
Using standard supermarket butter, even good-quality European butter, is the single most common reason home-made croissants disappoint. The layering simply does not hold the same way.
The 18 Minutes of Magic
After shaping, the croissants proof at 24–26°C for two to three hours. You are looking for a specific visual cue: the layers should be visible and jiggly, not puffed smooth like bread. The moment they lose that wobble, they have over-proofed and your layers are compromised.
Into the oven at 185–190°C (convection). The first eight minutes are pure steam expansion. The butter melts and vaporizes, pushing those layers apart with force. The Maillard reaction begins transforming the surface from pale to deep amber. At minute 12, the structure has set. Minutes 14–18 are for color and caramelization — the window that separates a golden croissant from a pale one, and a deep-amber one from a burnt one.
The moment you pull croissants from the oven, resist the urge to serve immediately. Give them 8–10 minutes on a wire rack. The internal steam needs to redistribute and the structure needs to firm. A croissant eaten too hot tastes gummy at the center. Patience is the last step of the recipe.
What Separates Good From Great
A good croissant is light, flaky, and buttery. A great croissant has visible, defined layers when you pull it apart — not a mass of flake but distinct, architectural sheets of pastry separated by almost transparent membranes. A great croissant has color that goes all the way to the base, not just the top. Its interior is honeycomb, not bread. And it leaves your fingers glistening with butter, because that is the point.
Six hours of lamination. Eighteen minutes of oven time. Not a single minute wasted.
#FlatLay #CroissantPorn #PastryAesthetics #BakerLife #TopDown #ViennoiserieMasters #StripedDough #BakingArt #DoughShaping #PatisserieArt