Prep Time: 10 minutes | Cook Time: 12 minutes | Servings: 4
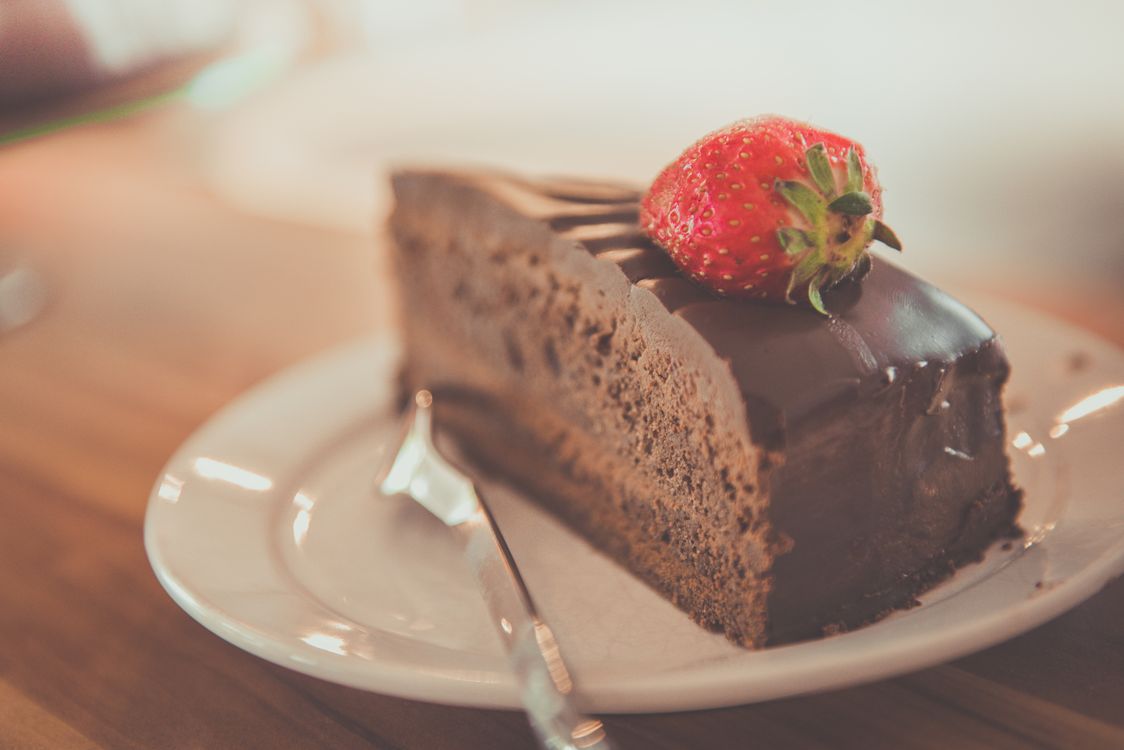
There is no dessert in my repertoire that creates more theatre than the chocolate lava cake. I’ve watched guests at the Park Hyatt go completely silent the moment they break the crust with a spoon and the warm ganache centre floods onto the plate. Twelve minutes in the oven. That’s all the time you need to produce something that genuinely impresses people. But those 12 minutes have to be exactly right.
The lava cake is entirely about precision. Too little time and you have raw batter. Too much time and you have a dry brownie. The 30-second window where you have molten, flowing chocolate inside a set, cakey exterior is what you’re chasing.
Ingredients
- 200g dark chocolate (70% cocoa solids), finely chopped
- 200g unsalted butter, plus extra for greasing
- 4 large eggs
- 4 large egg yolks
- 200g caster sugar
- 80g plain flour, sifted
- Cocoa powder for dusting the moulds
- Vanilla ice cream or crème fraîche to serve
Method
Step 1: Prepare the Moulds
Preheat your oven to 200°C / 180°C fan. Generously butter four 150ml ramekins or individual pudding moulds, then dust with cocoa powder (not flour — flour leaves a pale coating; cocoa maintains the chocolate aesthetic). Shake out any excess. Place on a baking tray.
Step 2: Melt Chocolate and Butter
Melt chocolate and butter together in a heatproof bowl set over barely simmering water (bain-marie). Do not let the bowl touch the water. Stir occasionally until smooth and fully melted. Remove from heat and allow to cool slightly — if it’s too hot when you add the eggs, you’ll scramble them.
Step 3: Whisk Eggs, Yolks, and Sugar
Using a hand mixer or stand mixer, whisk the eggs, egg yolks, and caster sugar together on high speed for 3–4 minutes until the mixture is pale, thick, and has tripled in volume. This step creates the airy, cakey exterior. Don’t skip or rush it.
Step 4: Combine
Pour the warm chocolate mixture into the egg mixture in a thin stream while folding gently. Add the sifted flour and fold until just combined. Do not overmix. Fill the prepared moulds to about three-quarters full. At this point you can refrigerate them for up to 24 hours — take them out of the fridge 30 minutes before baking.
Step 5: Bake — Know Your Oven
This is the critical step. Bake for exactly 10–12 minutes. The edges should be set and pulling slightly from the sides; the centre should have a slight wobble when you shake the tray. In a fan oven, 10 minutes. In a conventional oven, 12 minutes. You must test one from your first batch to calibrate for your specific oven. There is no other way.
Step 6: Unmould and Serve Immediately
Run a palette knife around the edge, place a serving plate on top, and invert in one confident motion. Serve within 60 seconds — the lava centre continues to cook from residual heat.
Pro Tips
- Test batch is mandatory: On your first attempt, bake one and cut into it to check. Adjust time by 1 minute based on what you see.
- The resting trick: If you’re making these for guests and can’t risk timing, freeze a set of the portioned batter (unmoulded) for 2 hours before baking. Add 2–3 minutes to the baking time. The frozen centre guarantees lava flow.
- Plate warm: Run your serving plates under hot water and dry them before plating. A cold plate stops the lava flow almost immediately.
Follow @cookingdepth on Instagram for more professional recipes and chef secrets.