
Chocolate Tempering Science — The Hidden Technique Behind Glossy Chocolate
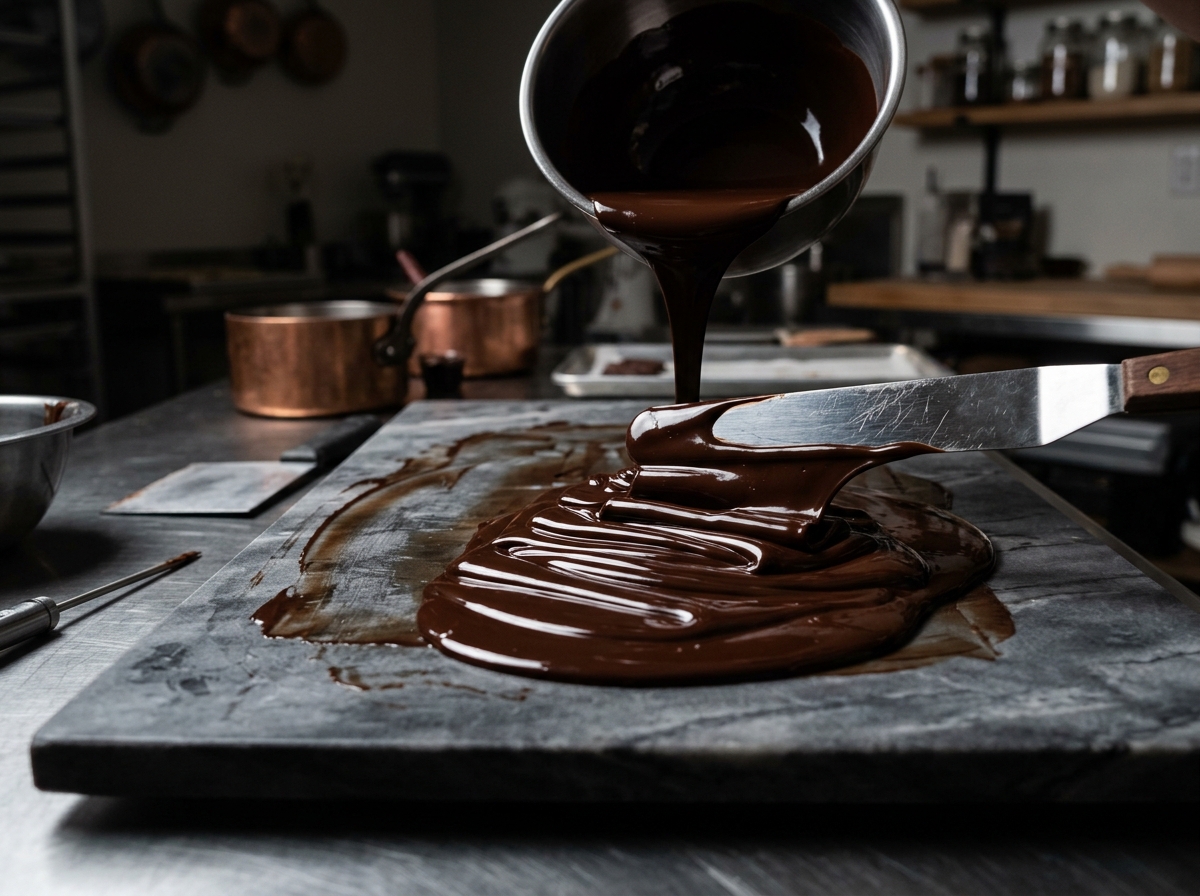
The first time I tempered chocolate successfully, I nearly cried. Not because it was emotionally moving — though it kind of was — but because it had taken me over thirty failed attempts to produce a single bar with that satisfying snap and mirror-like gloss. At Grand Hyatt’s pastry section, tempering was the gatekeeper skill. If you couldn’t temper, you couldn’t make truffles, couldn’t coat éclairs, couldn’t do showpieces. The head pastry chef made it look effortless — spreading chocolate on marble, folding it back with a palette knife, testing it on his lip for temperature. “Tempering is a conversation with crystals,” he said. “You need to convince them to line up properly.” That sounded mystical until I learned the science. Then it became logical, repeatable, and deeply satisfying.
Tempering is not optional for any application where chocolate needs to look good, snap cleanly, and not melt in your hands at room temperature. If you’re making truffles, chocolate decorations, or coating anything — this is the technique that separates amateur from professional.
“Untempered chocolate is like an unmade bed — functional, but you can tell nobody bothered.”
What Tempering Actually Is
Cocoa butter can crystallize in six different forms (called polymorphs), labeled I through VI. Only Form V gives chocolate its desirable properties: glossy surface, clean snap, smooth mouthfeel, and stability at room temperature. The other five forms produce chocolate that’s dull, crumbly, melty, or develops white streaks (called “bloom”).
Tempering is the process of controlling the temperature of melted chocolate so that it forms only Form V crystals as it solidifies. This involves three phases: melting (destroying all existing crystals), cooling (encouraging Form V seed crystals to form), and warming slightly (melting any unwanted Form IV crystals while keeping Form V intact).
Facts about chocolate tempering:
- The temperature windows are incredibly tight. For dark chocolate: melt to 50-55°C, cool to 27-28°C, warm to 31-32°C. For milk chocolate: 45-50°C, 26-27°C, 29-30°C. For white: 40-45°C, 25-26°C, 27-28°C. A deviation of even 1-2°C can ruin the temper.
- Bloom is not mold. White streaks on old chocolate are cocoa butter crystals that have migrated to the surface — the chocolate recrystallized into Form VI over time. It’s safe to eat but looks unappetizing. Re-tempering fixes it.
- Professional chocolatiers use marble slabs. Marble absorbs heat quickly and evenly, which is why the “tabling method” (spreading chocolate on marble and scraping it back) is the gold standard for tempering. At home, a clean granite countertop works identically.
The Three Methods
Method 1: Tabling (Professional Standard)
Melt chocolate to 50°C. Pour two-thirds onto a marble slab. Spread and scrape with palette knives, repeatedly folding the chocolate back on itself. This agitation encourages crystal formation as the temperature drops. When the chocolate reaches 27°C (it’ll feel cool on your lip), scrape it back into the remaining warm chocolate and stir. The final temperature should be 31-32°C for dark chocolate. Test by spreading a thin layer on parchment — it should set within 3-5 minutes with a glossy surface.
Method 2: Seeding (Best for Home Cooks)
Melt two-thirds of your chocolate to 50°C. Remove from heat. Add the remaining one-third (finely chopped, unmelted) as “seed” chocolate — these already contain Form V crystals. Stir constantly until the mixture cools to 31-32°C and all seed chocolate is melted. If chunks remain, remove them. The seed chocolate introduces Form V crystals into the melted mass, giving the cocoa butter a template to follow.
Method 3: Microwave (Quick and Dirty)
Chop chocolate finely. Microwave in 15-second bursts, stirring between each burst. The goal is to melt 80% of the chocolate while keeping 20% as unmelted chunks. The stirring distributes the heat and the unmelted pieces act as seed crystals. When the mixture is smooth and all pieces have just melted, check the temperature — it should be 31-32°C. This method is less precise but works for small batches.
How to Test Your Temper
Dip a knife or piece of parchment paper into the tempered chocolate. If properly tempered, the chocolate will:
- Set within 3-5 minutes at room temperature
- Have a glossy, shiny surface
- Snap cleanly when broken
- Not leave melted residue on your fingers at room temperature
If it’s dull, soft, or takes forever to set — you’ve lost the temper. Remelt and start over. Don’t add new chocolate; just remelt what you have and try again.
For more pastry science, explore Why Chocolate Seizes, Lamination Science, Emulsion Science, Caramelization Chemistry, and Restaurant Plating.
Common Tempering Problems
Chocolate too thick to work with: It’s cooled too much. Warm gently (blow dryer or 5 seconds in microwave) to bring it back to 31-32°C. Don’t exceed 32°C or you’ll melt the crystals you formed.
White streaks after setting (bloom): The chocolate was not properly tempered — Form V crystals weren’t dominant. Remelt and re-temper. This isn’t a quality issue; it’s a technique issue.
Chocolate sticks to molds: Either the mold wasn’t clean (any residue prevents release) or the chocolate wasn’t tempered (properly tempered chocolate contracts slightly as it sets, releasing from molds cleanly).
Frequently Asked Questions
Do I need to temper chocolate for brownies or cookies?
No — tempering is only needed when chocolate must look glossy, snap cleanly, or coat something. For baked goods, just melt the chocolate normally. The baking process creates its own texture.
Can I temper chocolate chips?
Not well. Most chocolate chips contain additives (stabilizers, reduced cocoa butter) that interfere with crystal formation. Use couverture chocolate (higher cocoa butter percentage) for tempering. Callebaut, Valrhona, and Guittard are good brands.
How long does tempered chocolate stay in temper?
While working, tempered chocolate stays in temper for about 20-30 minutes before it starts cooling too much. Keep it at 31-32°C using a warming pad, double boiler on lowest heat, or periodic microwave bursts. If it drops below 27°C, you’ll need to re-temper.
A Conversation with Crystals
Tempering is the most satisfying technique I learned in the pastry kitchen. It’s pure science applied to pure pleasure — understanding crystal polymorphs to create the perfect snap, the perfect shine, the perfect melt. Once you master it, every truffle, every coated fruit, every chocolate decoration becomes a small work of art. And art, as they say, is crystallized effort.
📌 Save this chocolate tempering guide for your next chocolate project — proper temper is the difference between homemade and professional.
Have you tried tempering chocolate at home? Which method worked best for you? Tell me in the comments 👇
Follow @cookingdepth on Instagram for daily recipes, chef tips, and behind-the-scenes hotel kitchen stories.