
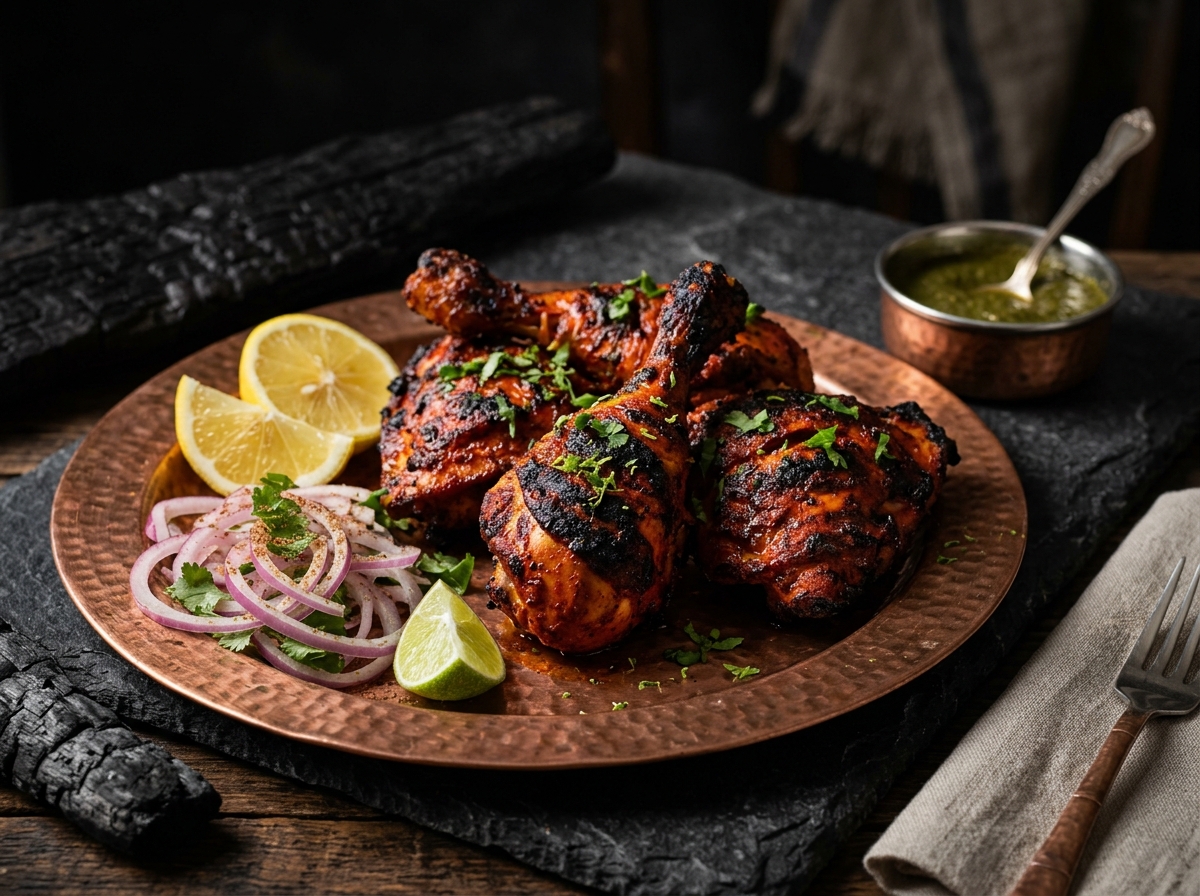
Tandoori Chicken — From Marinade to Presentation
Tandoori Chicken is deceptively simple—yogurt, spices, and heat. But the gap between a decent homemade version and a restaurant showstopper is massive. Most people think it’s all about the tandoor oven. Wrong. It’s about the marinade science and the timing. Get those two right, and you’ll get restaurant-quality results even in a regular oven.
At Jaipur Marriott, I watched the tandoori station for an entire service. The chef prepped 30 orders worth of chicken that morning, each piece marinated differently based on size and thickness. Thick thighs got 8 hours. Thin breasts got 4 hours. This precision is what separates restaurants from casual home cooking.
Why did Tandoori Chicken go to the gym? To get those perfect char marks 😂
Here’s the insight that changed everything: hotel tandoori chickens aren’t just cooked—they’re staged. They marinate, rest, cook, rest again, and only then hit the plate. The resting periods are where the magic happens. Proteins relax, flavors marry, and the final product is tender and flavorful in ways that fast cooking can’t achieve.
Restaurant-Style Tandoori Chicken Recipe
- Prep Time: 20 minutes (plus 6-8 hours marinating)
- Cook Time: 25-30 minutes
- Resting Time: 5 minutes (important)
- Total Time: 55 minutes (plus marinating)
- Servings: 4-6 people
For the Marinade
- 1 kg chicken (thighs and drumsticks preferred; breasts work but dry faster)
- 250 grams full-fat yogurt
- 3 tablespoons vegetable oil (divided)
- 2 tablespoons ginger-garlic paste
- 3 green chillies, finely minced
- 2 tablespoons fresh coriander, finely chopped
- 1 tablespoon fresh mint, finely chopped
- 2 teaspoons Kashmiri red chilli powder (for color, not heat)
- 1 teaspoon garam masala powder
- ½ teaspoon turmeric powder
- ½ teaspoon cumin powder
- ¼ teaspoon asafoetida (hing)
- Juice of 1 lemon
- 1 tablespoon tandoori masala powder (optional but authentic)
- Salt to taste
- 2 tablespoons chickpea flour (besan), for thickening
For the Charring (oven method)
- 2 tablespoons butter, melted
- 1 tablespoon oil
- Additional lemon juice for basting
For Plating
- Lemon wedges
- Onion slices, tossed with chaat masala and lemon
- Fresh coriander sprigs
- Green chutney for serving
Step-by-Step Recipe
- Pat the chicken dry with paper towels. Make shallow cuts (about ¼-inch deep) on both sides of each piece, in a crosshatch pattern. These cuts help the marinade penetrate deeper and create more surface area for browning.
- Mix yogurt with 2 tablespoons oil in a bowl. Add ginger-garlic paste, minced green chillies, coriander, and mint. Stir until well combined. The mixture should smell fresh and vibrant.
- Add all dry spices: Kashmiri red chilli, garam masala, turmeric, cumin, asafoetida, and tandoori masala if using. Mix thoroughly. Add salt to taste—remember you’re seasoning chicken that will concentrate as it cooks.
- Add lemon juice and stir. Add chickpea flour and stir until the marinade reaches a paste-like consistency. The chickpea flour is critical—it helps the marinade stick to the chicken and creates a protective coating during cooking.
- Coat each chicken piece thoroughly with this marinade. Work the marinade into the cuts you made. Make sure every surface is covered. This is tedious but essential for even cooking and flavor distribution.
- Place marinated chicken in an airtight container or covered bowl. Refrigerate for minimum 6 hours, preferably 8 hours. The yogurt enzymes and spices will penetrate the meat during this time, making it incredibly tender.
- Remove chicken from refrigerator 30 minutes before cooking. Let it come to room temperature. This ensures even cooking throughout—cold chicken cooks unevenly.
- Preheat oven to 220°C (425°F) with a cast-iron pan or oven tray inside. The pan should be smoking hot when you place the chicken on it—this creates the char marks and seared exterior.
- Place chicken pieces on the pre-heated pan, spacing them out. They should sizzle immediately—this is the sound you want. Bake for 12-15 minutes at 220°C. The chicken should be half-cooked and starting to show char marks.
- Remove from oven and brush with a mixture of melted butter and oil. Return to oven and bake for another 12-15 minutes until fully cooked through (internal temperature 75°C) and well-charred on the outside.
- Remove from oven and let rest on a warm plate for 5 minutes. This rest is crucial—it allows juices to redistribute through the meat, keeping it moist. Never cut into hot cooked chicken immediately.
- Plate on a bed of fresh onion rings that have been tossed with chaat masala and lemon juice. Add lemon wedges, fresh coriander sprigs, and a dollop of green chutney on the side.
Chef Tips from Hotel Kitchens
- Crosshatch Cuts are Essential: These aren’t for show. They allow marinade to penetrate deeper and create surface area for browning. Hotels always do this—never skip.
- Chickpea Flour Thickens the Marinade: This isn’t traditional but it’s what professionals do. It creates a protective paste that adheres to chicken and prevents drying during cooking.
- Room Temperature Before Cooking: Cold chicken cooks unevenly—cold inside, overdone outside. Let it sit 30 minutes. This one step dramatically improves results.
- Pre-Heat the Pan Hard: A screaming hot pan is non-negotiable. The initial sear creates char marks and seals the surface. This is what creates the “tandoori” look in a regular oven.
- Rest After Cooking: Five minutes is the minimum. This allows carryover cooking to complete and lets juices settle. Hotels always plate hot tandoori chicken on pre-warmed plates to maintain temperature.
FAQ — Tandoori Chicken Issues
Q: My Tandoori Chicken is dry inside even though I marinate it. Why?
A: You’re either cooking it too hot for too long, or you’re using only chicken breast (which dries fast). Use thighs/drumsticks instead. Also, bring to room temperature before cooking and don’t overcook—75°C internal temp is the target, not higher.
Q: The char marks aren’t showing up. How do I get restaurant-style marks?
A: Pre-heat your pan until it’s smoking hot. The initial sear on a very hot surface creates those marks. Also, make the crosshatch cuts deeper—about ¼-inch. These combined create the look.
Q: Can I use an actual tandoor or grill at home?
A: Absolutely. The technique is the same—same marinade, same timing. If using a gas grill, preheat to medium-high and cook for 20-25 minutes, turning halfway. If using charcoal, cook over medium-hot coals, 15-20 minutes per side.
Save this recipe 📌
Have you made Tandoori Chicken at home? Do you get restaurant-style results or does yours come out different? Share your experience in the comments!
Follow @cookingdepth on Instagram 📸 for daily street food inspiration and quick cooking hacks.
Explore Butter Chicken techniques or learn about Paneer Tikka Masala secrets.