
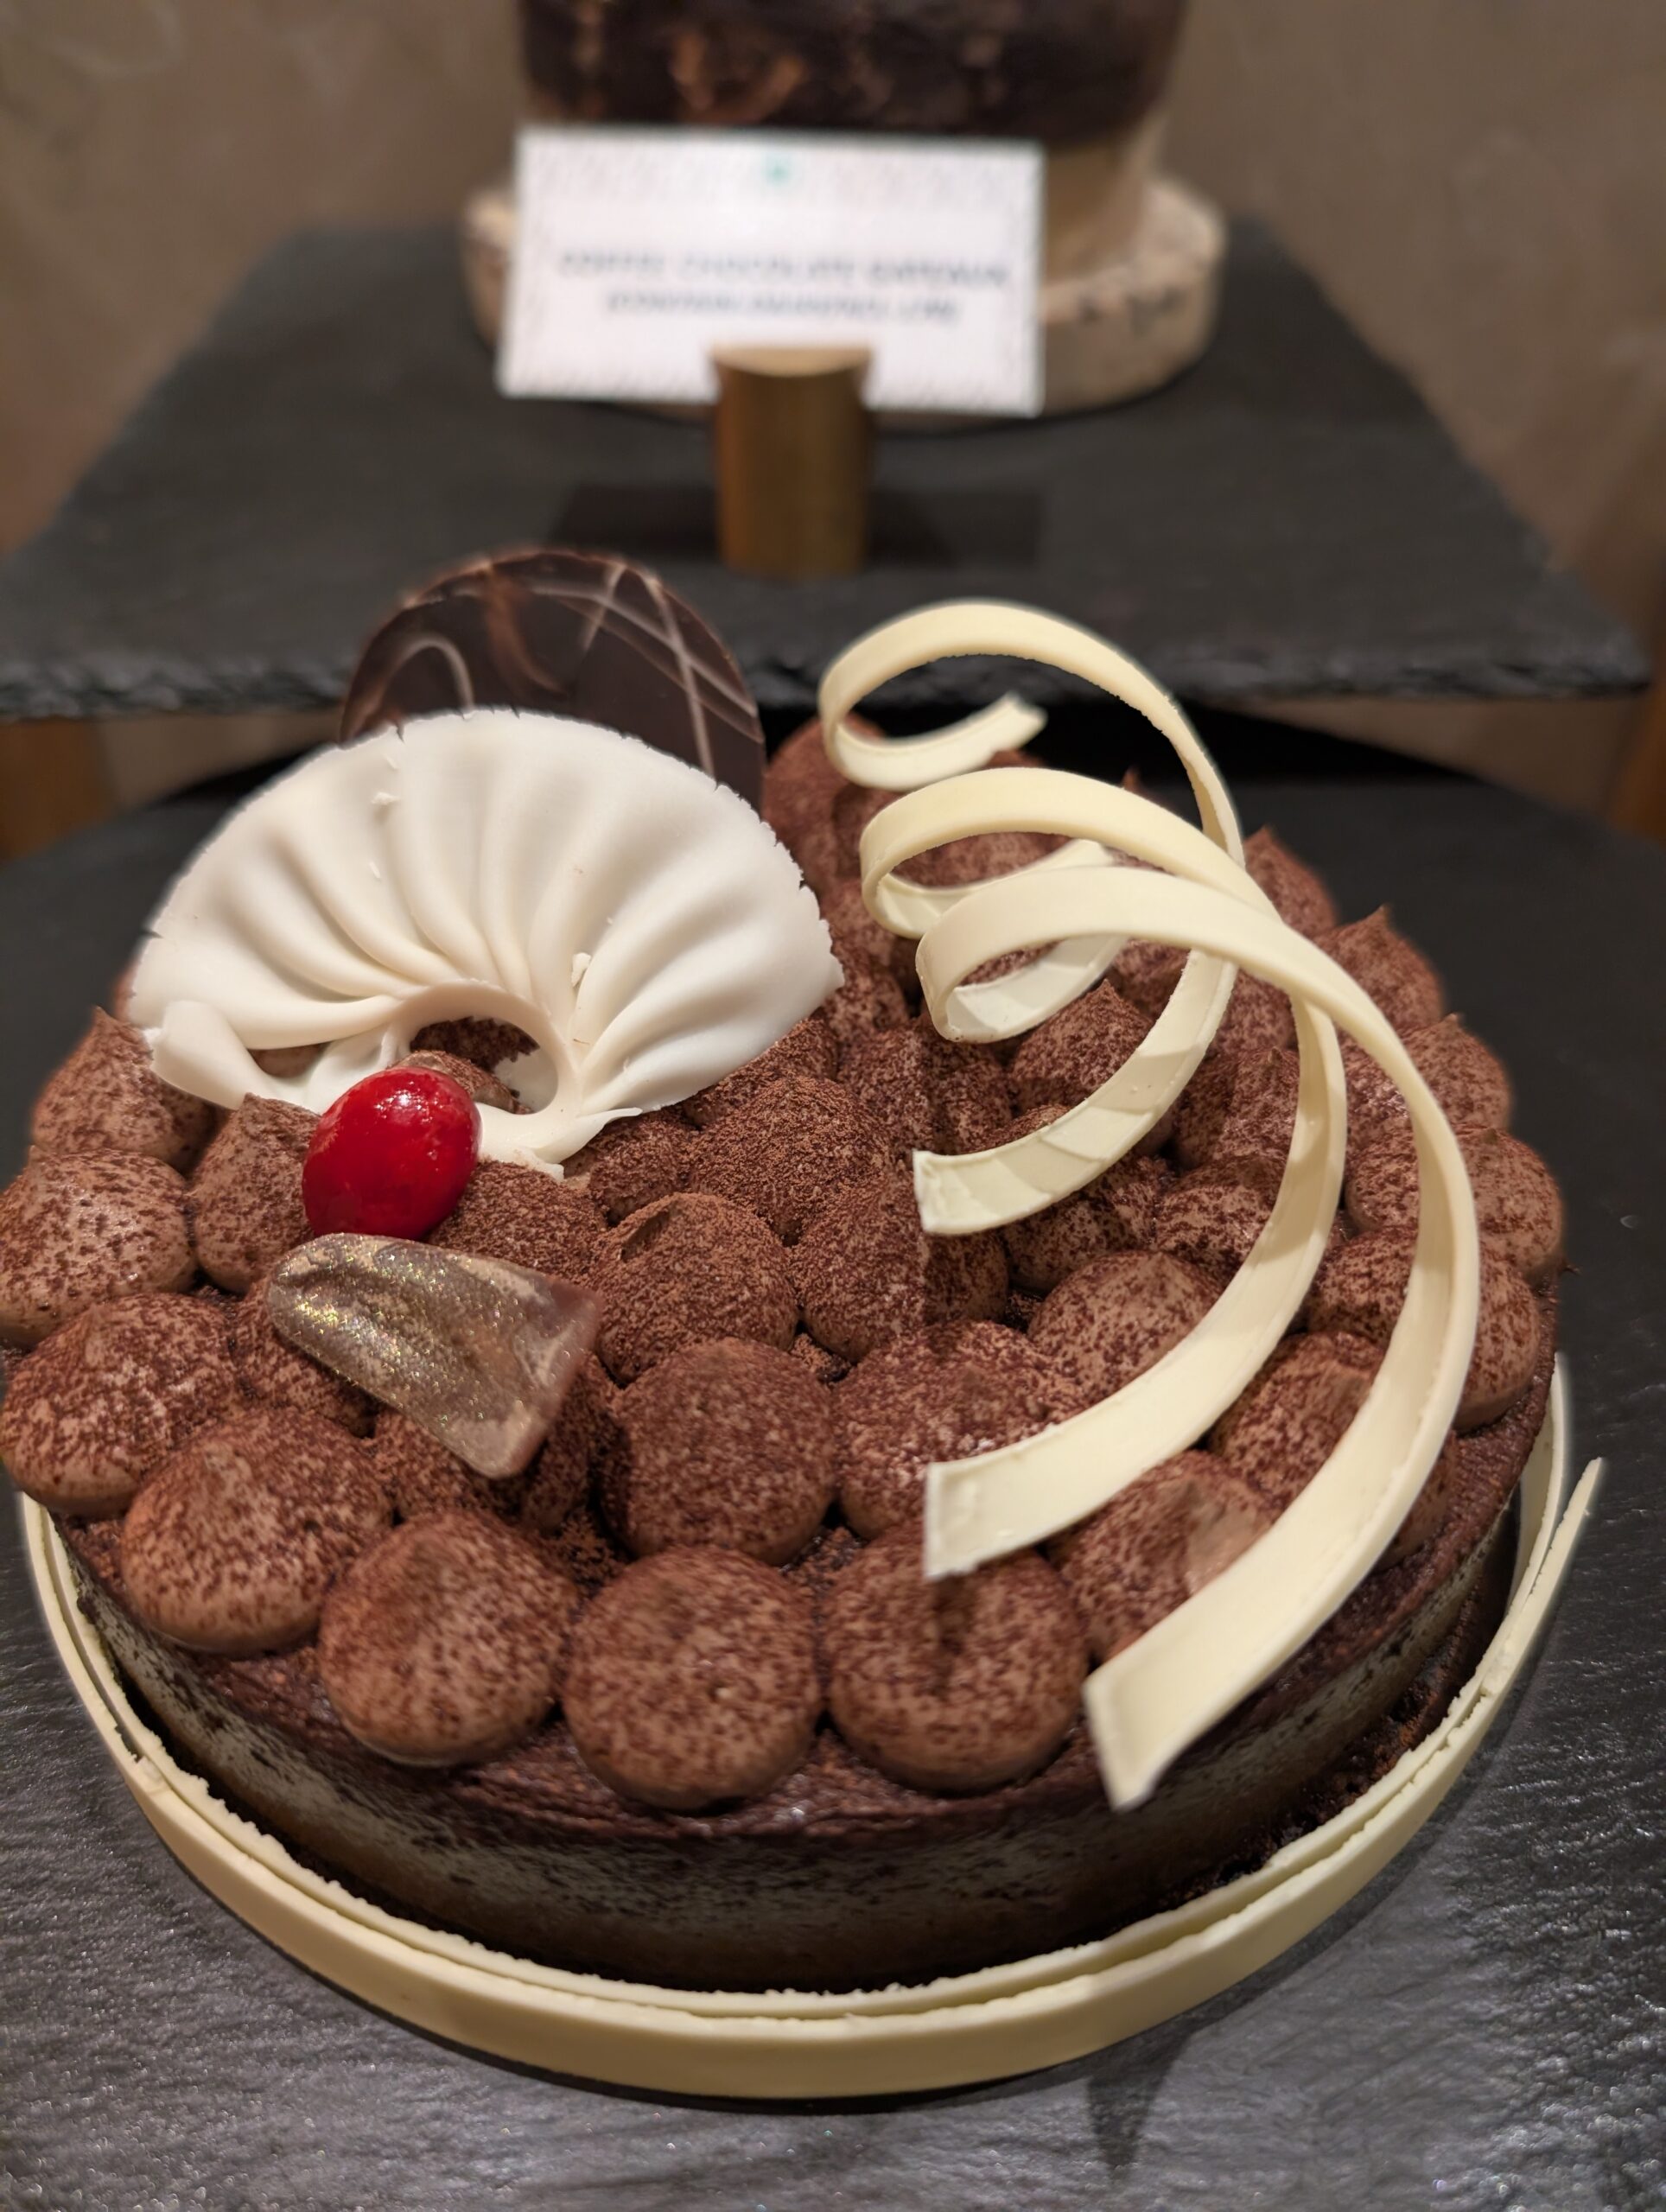
How To Temper Chocolate Like A Professional Pastry Chef
There is chocolate, and then there is tempered chocolate — the kind that snaps when you break it, shines like polished marble, and melts on your tongue at exactly the right moment. If you have ever wondered why your homemade chocolate looks dull and bends instead of breaking, the answer is simple: it was not tempered. And today, you learn how to fix that permanently.
Tempering chocolate was my nemesis during training at FCI Ajmer. I burned it, seized it, and produced grey-streaked “bloom” chocolate more times than I care to admit. The breakthrough came when a visiting chef showed us the tabling method on a marble slab — watching that liquid chocolate transform into glossy perfection was like watching magic. At Royal Orchid, I tempered chocolate for bonbon service daily, and at Rajmahal Palace Jaipur, our chocolate amenities for VIP rooms had to be flawless. One guest was a Belgian chocolatier — when he complimented our bonbons, I knew the years of practice had paid off. At Mor Baug Jamnagar, I taught the entire pastry team tempering in a week-long workshop.
Tempering chocolate is the cooking equivalent of parallel parking — everyone claims they can do it, but the evidence usually says otherwise 😂
The secret professionals never explain simply: Tempering is just about organizing cocoa butter crystals. You want Form V crystals — the stable ones that give snap and shine. You get them by melting all crystals (heat to 50°C), then cooling to create seed crystals (27°C for dark), then gently warming to working temperature (31-32°C) to melt the unstable crystals while keeping the good ones. That is the entire science in three sentences.
Restaurant Style Chocolate Tempering — Complete Method
Prep Time: 10 minutes | Active Time: 20 minutes | Total Time: 30 minutes | Yield: 300g tempered chocolate
Ingredients
- 300g high-quality couverture chocolate (at least 54% cocoa for dark)
Equipment Needed
- Digital instant-read thermometer
- Heatproof bowl
- Saucepan for bain-marie
- Clean, dry spatula
- Marble slab or large clean baking sheet (for tabling method)
- Offset spatula or bench scraper (for tabling method)
Method 1: Seeding Method (Easiest for Home Cooks)
- Chop 200g of chocolate finely. Set aside the remaining 100g in small pieces — these are your seed chocolate.
- Melt the 200g chocolate over a bain-marie (bowl over simmering water, water not touching the bowl) to 50-55°C for dark chocolate (45-50°C for milk, 40-45°C for white).
- Remove from heat. Add the 100g seed chocolate in three additions, stirring constantly after each addition until fully melted.
- Keep stirring until the temperature drops to 27°C for dark chocolate (26°C for milk, 25°C for white). This takes 5-8 minutes.
- Gently rewarm over the bain-marie to the working temperature: 31-32°C for dark (29-30°C for milk, 27-28°C for white).
- Test: dip a knife or strip of parchment in the chocolate. If properly tempered, it will set within 3-5 minutes at room temperature with a smooth, glossy finish and no streaks.
- Use immediately — tempered chocolate stays workable for about 20 minutes before it begins to set.
Method 2: Tabling Method (Professional Standard)
- Melt all 300g chocolate to 50-55°C over a bain-marie.
- Pour two-thirds of the melted chocolate onto a clean, dry marble slab.
- Work the chocolate with an offset spatula and bench scraper — spread it out, scrape it back, spread again. This agitation creates the seed crystals.
- Continue working until the chocolate on the marble thickens slightly and cools to 27°C.
- Scrape the cooled chocolate back into the bowl with the remaining warm chocolate. Stir to combine.
- Check temperature — it should be around 31-32°C. If too cool, flash it over the bain-marie for 3-5 seconds while stirring.
- Test on parchment and use immediately.
Temperature Cheat Sheet
- Dark chocolate: Melt 50-55°C → Cool 27°C → Work 31-32°C
- Milk chocolate: Melt 45-50°C → Cool 26°C → Work 29-30°C
- White chocolate: Melt 40-45°C → Cool 25°C → Work 27-28°C
Chef Tips
- Even a single drop of water will seize your chocolate. Every tool, bowl, and surface must be completely dry. This is the number one cause of failed tempering.
- Use couverture chocolate (high cocoa butter content), not chocolate chips. Chips contain stabilizers that prevent proper crystallization.
- If your chocolate goes out of temper (gets too cool and starts setting in the bowl), you can gently rewarm it. But if it exceeds the melting temperature, you must start the entire process over.
FAQ
What is the white film on untempered chocolate?
That is called bloom — either sugar bloom (moisture draws sugar to the surface) or fat bloom (cocoa butter separates and re-crystallizes in unstable forms). It is safe to eat but looks unappetizing. Proper tempering prevents it entirely.
Can I temper chocolate in the microwave?
Yes, carefully. Microwave at 50% power in 15-second bursts, stirring between each. Follow the same temperature stages as the seeding method. It requires more attention but saves setup time.
How do I know if my chocolate is truly tempered?
The test is simple: spread a thin layer on parchment paper. Properly tempered chocolate sets within 3-5 minutes at room temperature (20-22°C) with a glossy surface and a clean snap when broken. If it stays sticky, looks matte, or bends — it is not tempered.
Save this recipe 📌
Have you ever tried tempering chocolate at home? What went wrong — or right? Share your experience below and let us troubleshoot together!
Follow @cookingdepth on Instagram 📸
Now that you can temper chocolate, put your skills to work with our Chocolate Mirror Glaze Brownie Entremet, or dive deeper into precision pastry with our Mirror Glaze Temperature Guide.